I have just finished an 8-week rosemaling course. It met on Thursdays for 8 weeks. I missed two weeks because I was traveling, but I did do some painting.
Here are the things I painted in this class. Rosemaling is Norwegian folk painting, that is normally done on wood. It can be done on other surfaces, but wood is the most common one. I, however don't feel I'm good enough to paint on a lot of wooden objects. I am still practicing and learning, so I do a lot of painting on paper. sometimes if the design turns out well I scan it and make cards from it. So during this class I painted many designs on paper as well as 3 wooden plates.
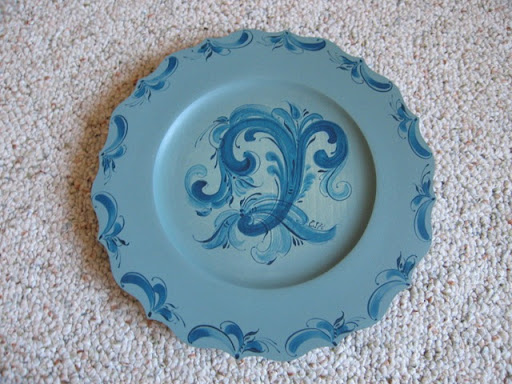
 I paint free-hand and my designs are my own. Many rosemalers, especially at the level I paint trace designs or sketch out designs before they start, but I'm just too lazy to do it that way. This is a 6-inch plate.
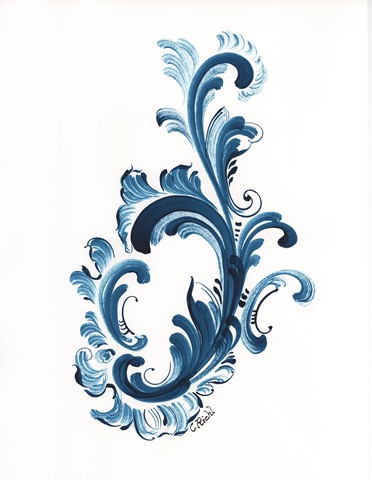
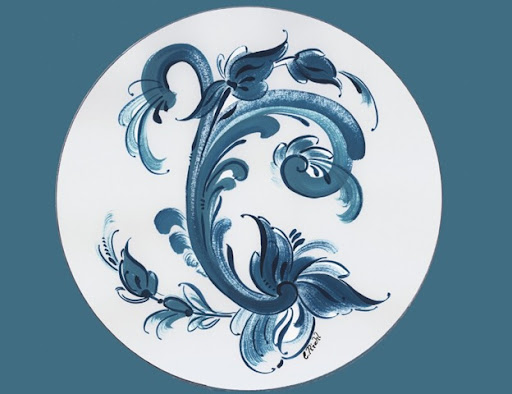 This is one I did on paper, scanned and added the outer color on my computer, to use as a card. This is the extent of my photo-enhancing skills.
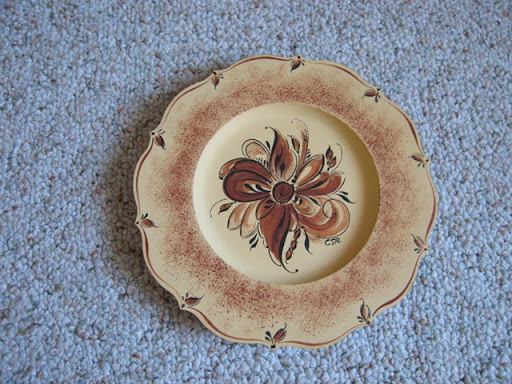
 This is a 7-inch wooden plate.
I did these three yesterday. The teacher had left a sketch on the board from the previous day's class and I used that as inspiration for this design, which I did three times with th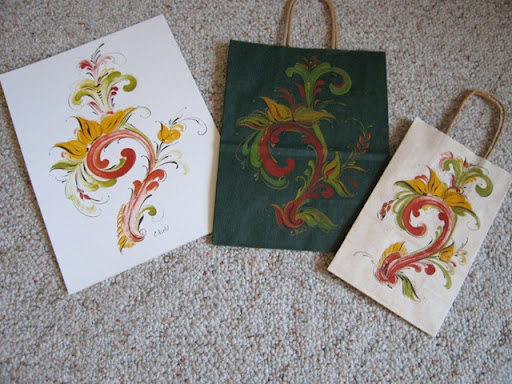 e same colors, but slight variations in the design. I cannot do 2 identical designs.
Finally, this is inspired by a painted sketch done by Norwegian rosemaler Nils Elingsgard.

